
Nothing says fall baking like a classic apple pie made with fresh apples, lots of cinnamon, and a flaky, buttery crust. This gorgeous pie is sure to be a crowd pleaser at your holiday get-togethers!
What you'll need:
Sharp kitchen knife
Large mixing bowl
Dry measuring cups and spoons
Kitchen shears
Pastry brush
9 inch pie plate
Perfect Pie CrustIngredients:
6-7 Large apples
¾ c. Sugar
2 tsp. Apple pie spice or ¼ tsp. Nutmeg + ½ tsp. Cinnamon
2 Tb. Flour
⅛ tsp. Salt
1 Tb. Fresh lemon juice
2 Tb. Butter
1 egg (for egg wash)
large granule sugar
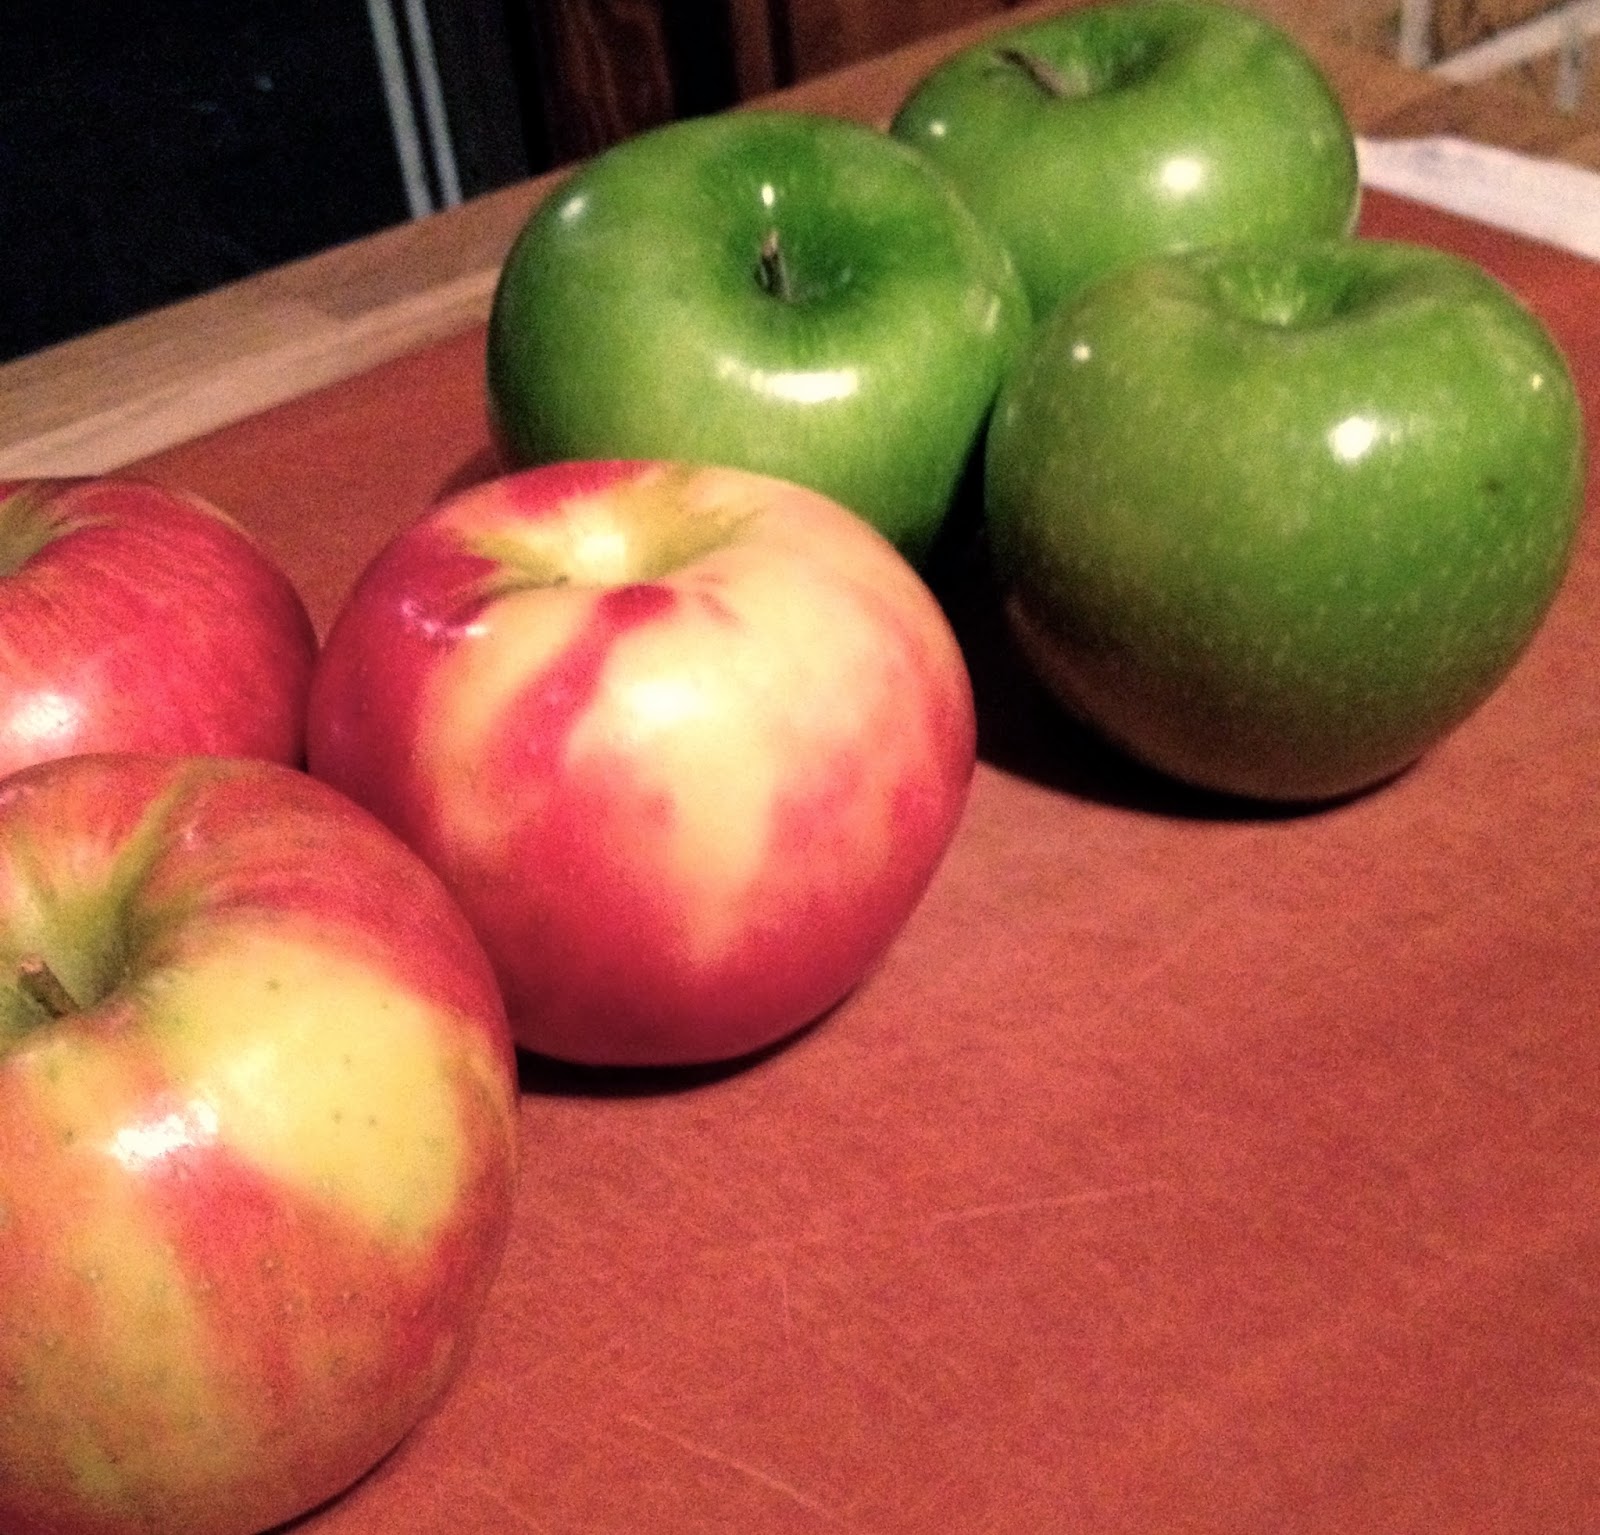
Ingredients in depth:This time of year, there are so many different apples to choose from. I like to use a mix of Honeycrisp, which are a bit more on the sweet side, and Granny Smith, which are a little more tart. This provides a nice balance of flavor. While some apples bake better than others, you really can't go wrong if you pick a couple different types that you enjoy. For the spices, I prefer to use a good quality apple pie spice. While I don't usually go for store-bought mixes, I've found one at my local grocery store that has no preservatives or unnecessary ingredients. If you can't find one like this, then go for the cinnamon and nutmeg combo.
Preparation:
1. Prepare your pie dough. Check out my recipe for Perfect Pie Crust. Get the dough fully made and in the fridge to chill.
2. While dough is chilling, preheat oven to 425°
Fahrenheit.
3. Peel the apples and cut to desired size. I prefer smaller, ¼ inch pieces, but this can really be done to your preference. If you like larger, more rustic slices, go for it.

4. Add the apple pieces, sugar, spices, flour, salt, and lemon juice to a large bowl.

4. Stir until the pieces are evenly coated. This is a good point at which to taste the filling and adjust if necessary. A little too sweet? Add a bit more lemon juice. Too tart? Add some more sugar. Stir again and set aside.

6. Carefully place the crust in your pie plate, letting it hang over the edges. At this point, you can trim off the excess with your kitchen shears, leaving about ¼'' of over-hang all the way around. Use any larger pieces to patch areas in need of more crust. To do so, brush a little bit of water on the dough piece and the area to be patched—I just use my fingers for this—and smooth the dough into place. It's important to use water to do this, otherwise the patched piece will come away from the main crust while baking.

7. Pour the filling into the bottom crust and spread evenly. Make sure you get the filling all the way up to the edges, leaving no gaps.

8. Chop the butter into small pieces and use them to dot the top of the filling. Set the plate aside.
9. Roll out your second ball of dough, again trying to keep it as circular as possible. When the dough is approximately ¼'' thick, fold in half, then in half again to form a triangle as pictured below. Make sure the dough is well dusted with flour so that it does not stick to itself.

10. Using your kitchen shears, snip three small vents on each side of the dough triangle near the point.

11. Gently lift the dough triangle and place on top of the filling with the point in the center.

12. Unfold the top crust and trim away any excess with your kitchen shears and patch if necessary. Crimp the edges of the crust together. I do this by folding the bottom edge over the top edge and pinching them between my thumb and forefinger. I like the rustic look that this gives the pie, but you can crimp the crust however you like, using a fork, etc.

13. At this point, I like to add some flourishes with my leftover dough, such as leaves, which are super easy. Use your kitchen shears to cut out the leaf shape, and a small, sharp knife to score the leaf marks into it.

14. Arrange the leaves on top of the crust wherever you would like. Attach them to the crust by using a bit of water on the leaf and on the dough, as you did when patching the crust. Details like this take only a little bit of extra time, but will really take your pie to the next level!


16. Place the pie in the oven and bake for 30 minutes. The crust should start to brown up, but shouldn't get too dark. If the crust appears to be browning too quickly, you can place foil around the edges to help shield it. After 30 minutes, lower the heat to 350° Fahrenheit and continue to bake for another 20 - 25 minutes. To check if pie is done, stick a skewer or knife into one of the vents. If the apples feel tender and the crust is a nice golden brown, remove it from the oven.

Congratulations, apple pie!
No comments:
Post a Comment